
Proper inflation is the first step to ensuring a safe and enjoyable experience with your new inflatable kiddie pool. Correctly inflating your pool maximizes its durability, stability, and performance. Please follow these steps and tips to set up your pool quickly and safely.
Step 1: Choose the Right Location
Before you begin, select a suitable location for your pool.
Surface: Choose a flat, level area free of sharp objects, sticks, stones, or rough terrain. Grass, smooth patios, or level ground are ideal.
Clearance: Ensure there is enough space for the pool's full size and a buffer zone around it.
Sun & Shade: Consider a spot with partial shade to keep the water cooler, but avoid placing the pool directly under trees to minimize debris.
Step 2: Unpack and Unfold
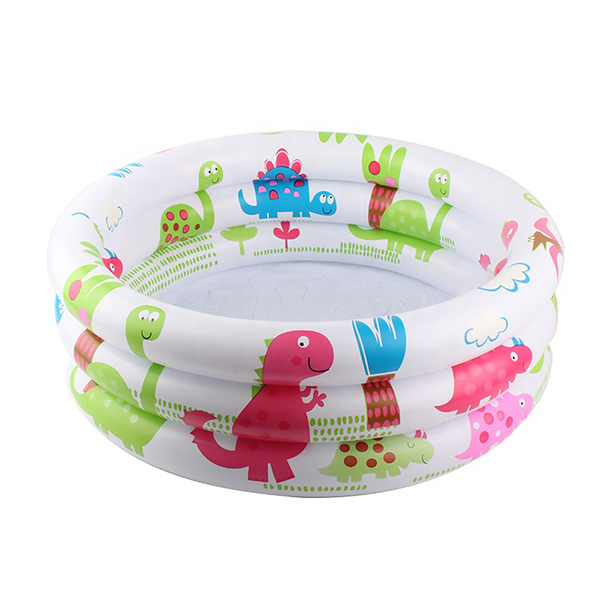
Lay the deflated pool flat on the chosen ground. Gently smooth it out to remove any major wrinkles and ensure the pool is oriented correctly. Locate the inflation valve(s). Most pools have one or more clearly marked valves, often with a cap.
Step 3: Select Your Inflation Method
There are several safe and effective ways to inflate your kiddie pool:
1. Electric Air Pump (Recommended)
This is the fastest, easiest, and most efficient method.
Connect the pump's nozzle to the pool's valve. Most modern pumps come with multiple adapter tips to ensure a secure fit.
Turn on the pump and inflate. The pool will be ready in minutes.
Tip: Do not over-inflate. The material should feel firm but still have a slight give when pressed.
2. Manual Hand or Foot Pump
A great option for exercise and for locations without easy power access.
Attach the pump hose to the valve securely.
Inflate using steady, repeated strokes until the pool reaches the desired firmness.
3. Household Vacuum Cleaner (Use with Caution)
Some vacuums have a "blow" function. If yours does, you can use it with a nozzle attachment.
Important: Ensure the vacuum is clean and the air output is free of dust and debris to avoid clogging the valve or damaging the pool.
What to Avoid:
Avoid using high-pressure air compressors, as they can easily over-inflate and rupture the seams or material in seconds.
It is not recommended to inflate the pool with your mouth. This can introduce moisture into the valve, leading to mold growth and potential damage.
Step 4: Inflate in the Correct Order
If your pool has multiple air chambers (e.g., a main pool chamber and separate top ring chambers), follow the manufacturer's recommended inflation sequence. Typically, this means:
Inflate the bottom or lower chambers first to help stabilize the pool.
Inflate the main side walls and top ring last.
This order helps the pool sit correctly and distribute pressure evenly.
Step 5: Secure the Valves
Once the pool is fully inflated and you are satisfied with its firmness, immediately close the valve caps tightly. This prevents air from slowly leaking out over time.
Step 6: Final Check and Fill
Do a quick visual inspection to ensure all seams and chambers are fully inflated and there are no obvious stresses on the material.
Begin filling the pool with water slowly. The water weight will further stabilize the structure.
Important Safety Tips for Inflation:
Never Over-inflate: The material expands under heat from the sun. Inflating to 90-95% capacity indoors allows for natural expansion outdoors without putting stress on the seams.
Inspect for Damage: Before inflation, quickly check the pool for any manufacturing defects or damage that may have occurred during shipping.
Supervise Children: Keep children and pets away during the inflation process, especially when using electric pumps.
By following these guidelines, you will ensure a secure setup for hours of summer fun. Proper care begins with correct inflation, protecting your products and guaranteeing a safe environment for everyone.
 Mobile Phone:
 Phone:
 Contact Now
 Youtube