
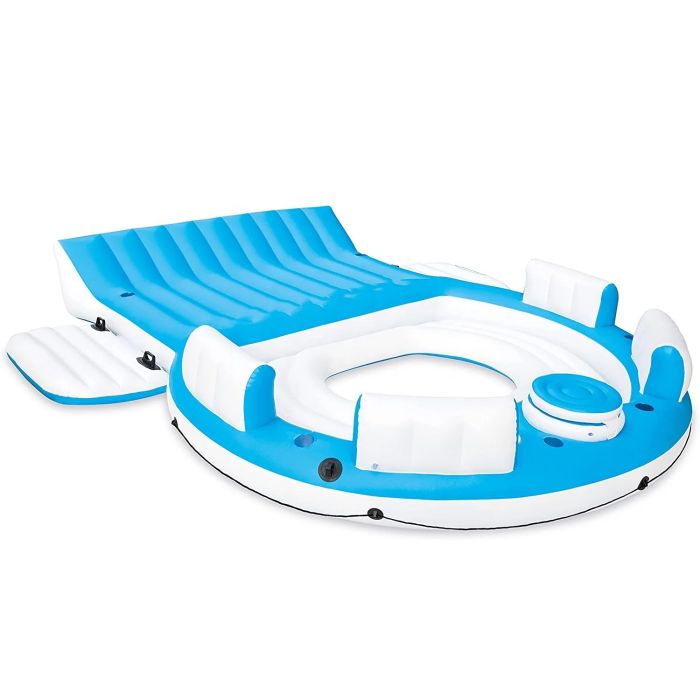
Storing Pool Floats correctly for winter is the difference between using them for multiple seasons and replacing them every summer. Most damage happens during the off-season, not during swimming. Residual moisture trapped inside seams can lead to odor and surface tackiness. Sun residue and sunscreen oils left on the vinyl can weaken the surface over time. Incorrect folding can create permanent creases that become stress points when the float is reinflated. The best winter storage routine focuses on four outcomes: fully clean surfaces, completely dry interior and exterior, low-stress folding, and a stable storage environment away from heat, freezing, and sharp objects.
This guide walks through a reliable storage method that works for most Inflatable Floats and helps keep them ready for next season. It is written around the use and care of NEW products, including the full range of pool floats, supported by NEW’s manufacturing experience, OEM and ODM capability, and dedicated design and engineering support for long-term supply.
Inflatable floats are typically made with flexible materials that can change slightly with temperature and pressure. In winter, storage spaces often fluctuate between cold nights and warmer daytime conditions. That expansion and contraction can stress seams if the float is stored under load, pressed under heavy items, or sharply folded in one fixed position for months. Another common issue is trapped moisture. Even a small amount of water inside an air chamber can cause a musty smell and can degrade surface feel over time.
A controlled storage process reduces these risks by preventing chemical residue buildup, eliminating moisture, and keeping the float in a relaxed shape.
Cleaning is easier when residue has not hardened. After the final use of the season, rinse the float to remove pool chemicals, salt, and debris. Then use a mild soap solution with a soft cloth to wipe the entire surface, including seams, valve areas, handles, and textured zones. Focus on sunscreen oils, drink spills, and body oils, because these residues can form a film that attracts dirt and may weaken the surface after long storage.
Avoid harsh household cleaners and strong solvents. They can remove surface finish unevenly and may dry out flexible materials over time. If the float has printed patterns, gentle wiping helps preserve print clarity.
After washing, rinse the float thoroughly. Soap left on the surface can create a sticky feel later and may attract dust during storage. Pay extra attention to:
Valve edges where residue accumulates easily
Welded seam lines where oils can collect
Handles or reinforcement points that are frequently touched
A complete rinse ensures the float will feel clean when you open it next season and reduces the chance of discoloration in storage.
Drying is the most important step, and it requires more than wiping the surface. The float must be dry both outside and inside, because trapped moisture is the most common cause of winter storage odor and surface issues.
Start by towel-drying the exterior. Then allow the float to air dry in a shaded, ventilated place. Avoid long exposure to direct sun, especially when the material is still wet, because heat and moisture together can accelerate surface aging.
To dry the interior, partially deflate the float, open the valve, and gently press air out while rotating the float so any moisture near the valve can escape. If you suspect water entered the air chamber during use, leave the valve open for a longer ventilation period in a dry room. The goal is to store the float with no damp areas trapped in folds.
Deflation affects how well the float stores. A fast squeeze-and-roll method can force stress into seams and can damage the valve area if the material is twisted too aggressively. A better approach is to open the valve fully and allow air to exit naturally, then apply gentle pressure to guide remaining air out.
When most air has escaped, close the valve loosely rather than locking it under compression. This helps keep the valve shape stable and reduces the chance of deformation that can cause slow leaks next season.
Incorrect folding can create long-term weak points. Sharp creases become the first places to crack or split when the float is reinflated under pressure next season. A winter fold should be wide and relaxed.
Use a rolling method when possible. Roll from the opposite side toward the valve to push air out gently. If rolling is not practical because of shape, fold in large sections rather than narrow hard folds. For large floats with complex shapes, consider changing the fold pattern each year so the same crease line is not repeated season after season.
A stable environment protects material flexibility and surface finish. The best winter storage area is dry, cool, and consistent in temperature.
Avoid these conditions:
Unheated outdoor sheds that freeze and thaw frequently
Attics or garages that get very hot on sunny winter days
Areas near furnaces, water heaters, or hot pipes
Floors where condensation can form under bins
Freezing does not automatically destroy a float, but repeated freeze-thaw cycles and compression can stress folded areas and may affect surface feel. Heat exposure can cause material softening and imprint marks if the float is pressed under other items.
How you pack floats matters as much as where you place them. Use a breathable storage bag or a clean bin with a dry liner. Avoid sealing slightly damp floats into airtight bags, because trapped humidity will stay inside for months.
Do not stack heavy objects on top of folded floats. Compression can force hard creases and can deform reinforcement points. If storage space is limited, place floats at the top of a stack, not at the bottom.
A practical protection approach is to wrap the folded float with a soft cloth layer before placing it into a bin. This reduces friction scuffs and keeps printed surfaces from rubbing against hard plastic walls.
| Storage factor | Recommended approach | What it prevents |
|---|---|---|
| Cleaning | Mild soap, soft cloth, thorough rinse | Film buildup, discoloration, sticky surface |
| Drying | Air dry in shade, ventilate valve and interior | Odor, mildew-like smell, surface tackiness |
| Deflation | Slow release, gentle pressure, protect valve | Valve deformation, seam stress |
| Folding | Large folds or rolling, avoid sharp creases | Crack lines, seam fatigue next season |
| Storage place | Dry, cool, stable temperature | Material aging, print damage, warping |
| Packing | Breathable bag or dry bin, no heavy compression | Permanent creases, scuffs, deformation |
For buyers managing seasonal inventory, customer satisfaction depends on floats staying in good condition across storage cycles. NEW operates as a professional inflatable manufacturer with structured teams that support product development, engineering, and quality control. OEM and ODM capability helps buyers match shapes, printing, and packaging standards to specific market needs, while maintaining consistent production output across reorder cycles.
If you are sourcing for retail or promotional supply, you can explore NEW’s product selection here: pool floats.
To store pool floats for winter, focus on cleaning before residue hardens, rinsing thoroughly, drying completely including the valve and interior, deflating gently, and folding without sharp creases. Store floats in a dry, stable environment with minimal heat and compression. This approach prevents odor, surface degradation, and seam stress, helping floats remain ready for next season with better appearance and usability.
For buyers and users looking for inflatable options supported by OEM and ODM capability and experienced manufacturing control, NEW offers a full range of pool floats designed for seasonal use and repeat supply.
Previous: How To Make A Pool Floater?
Next: How To Clean Water Toys?
 Mobile Phone:
 Phone:
 Contact Now
 Youtube